Authorize.Net
To configure the Authorize.net Gateway in your sticky.io platform, follow these steps

Navigate to the Gateways Section:
- In the left-hand menu, click on Gatewayssection.
- This will open the Gateway Profile page, where you can manage your existing gateway connections.
Add a New Gateway:
- Click the + Add Gateway button located at the top-right corner of the Gateway Profile page.
- A pop-up window will appear, displaying various gateway options.
Select Authorize.net:
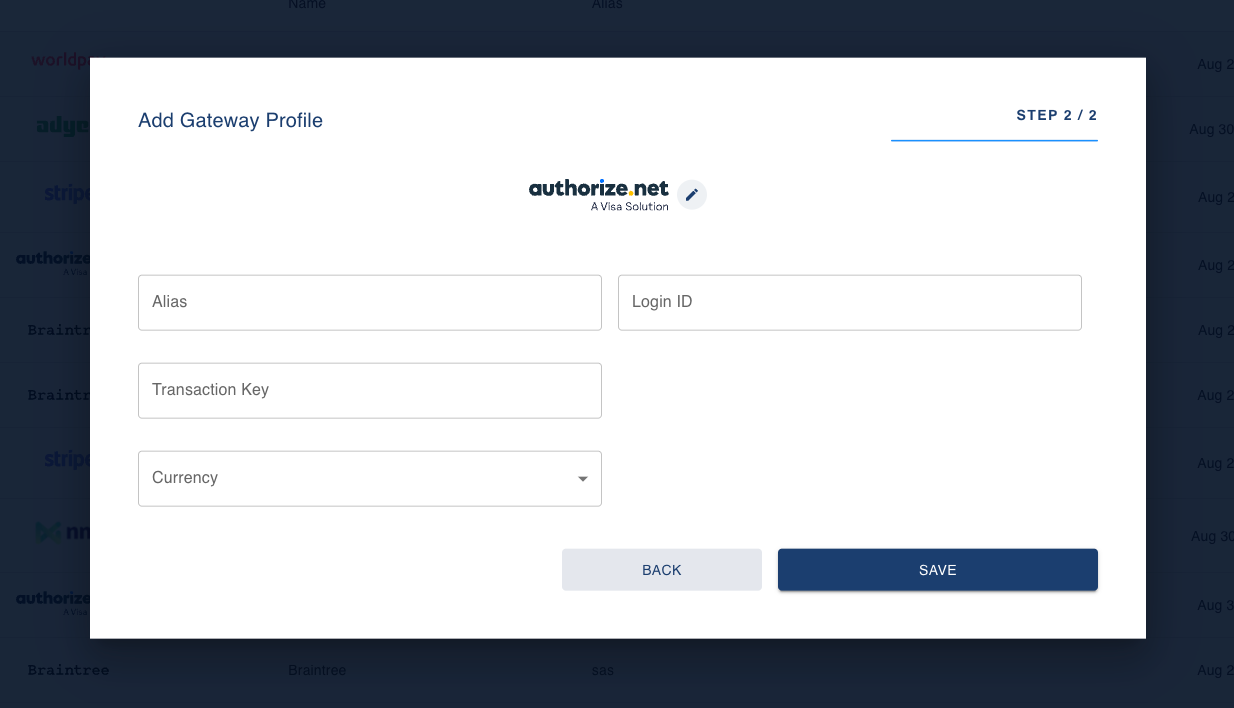
- From the list of gateways, select Authorize.net. You will be taken to a configuration page where you can input the required information.
Fill in the Required Fields:
- Alias: Enter a unique name for this gateway profile. This helps you easily identify the gateway in your system.
- Login ID: Input the API Login ID provided by Authorize.net. This serves as the primary authentication credential for your gateway account.
- Transaction Key: Enter the Transaction Key provided by Authorize.net. This key is used for secure communication and transactions between your account and Authorize.net.
Save the Configuration:
- After filling in the required fields, click Save to complete the setup.
- The new gateway profile will be added to the Gateway Profiles list, and its status will be displayed as either Active or Inactive depending on its configuration and activation.
Updated 5 months ago